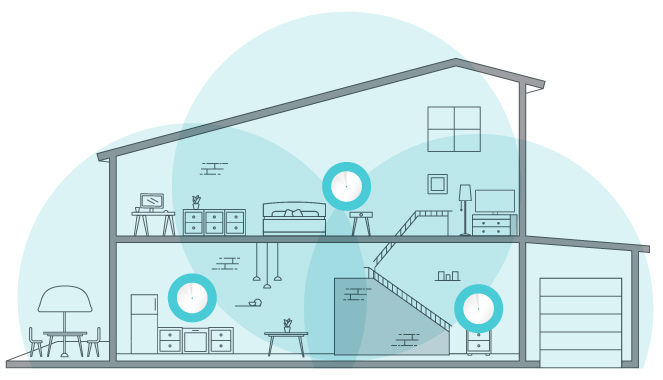
A great internet connection is only a part of the equation. If you have weak signal at the far ends of your home, you may need a Mesh Wi-Fi system to improve your internet experience.
Typically for larger homes, your Internet Service Provider (ISP) may install the router in one of the far corners in your house. As you approach the opposite ends of your home from where the router is located, you may experience poor signal; one, two, or no Wi-Fi bars on your device.
This is where Mesh Wi-Fi comes in. There are many kits to choose from, we recommend choosing something with the latest standards, which is currently Wi-Fi 6. Once you have picked out a Mesh Wi-Fi system, the next step is installation.
An easy way to determine the best placement for your new Mesh Wi-Fi system is to use a Wi-Fi Analyzer app on your smartphone or tablet. Use the app to determine which SSID (Wi-Fi Name) belongs to your router and then walk around your home until you see the signal go down in strength.
We recommend installing Mesh devices in areas where your signal is 50% or lower than your original signal. For example, if your app says you have 4 or 5 bars when at full coverage, the ideal placement of the Mesh device would be when your signal reaches 2 bars. You may install them if you have a lower signal, but these devices amplify/extend signal based on the current strength, so if you don’t have any signal in that area, lets say one bar, the Mesh device would not work optimally in that area, try moving the device closer to the source (main Wi-Fi router) until you have at least 30-50% of the original signal.
And that’s it! Your new Mesh Wi-Fi system is now installed! Many of the new systems provide additional features such as parental controls, guest Wi-Fi, and even cyber security features. Feel free to poke around through the interface to see what else is available.